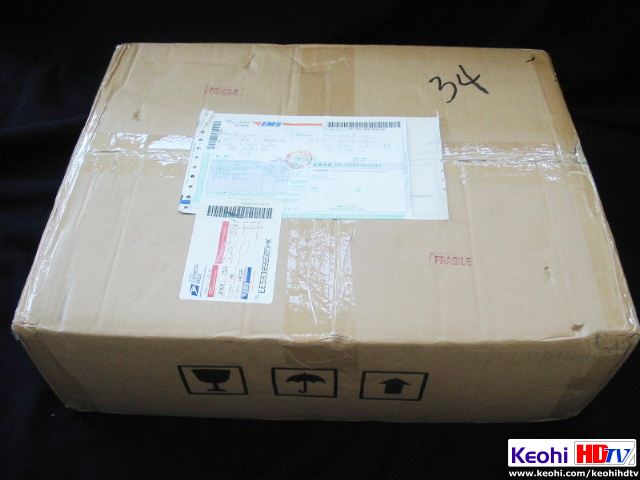
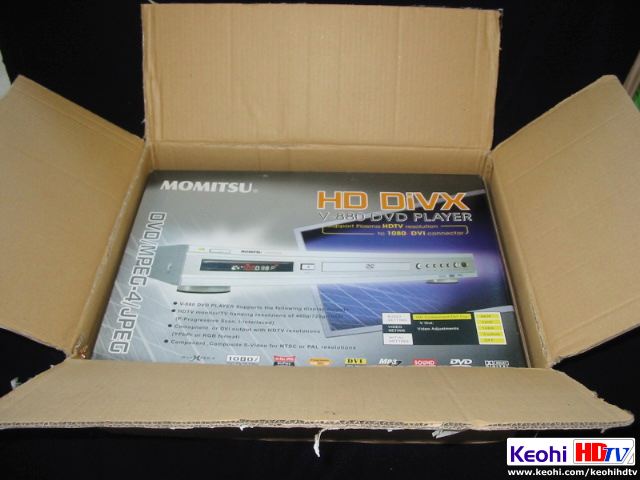
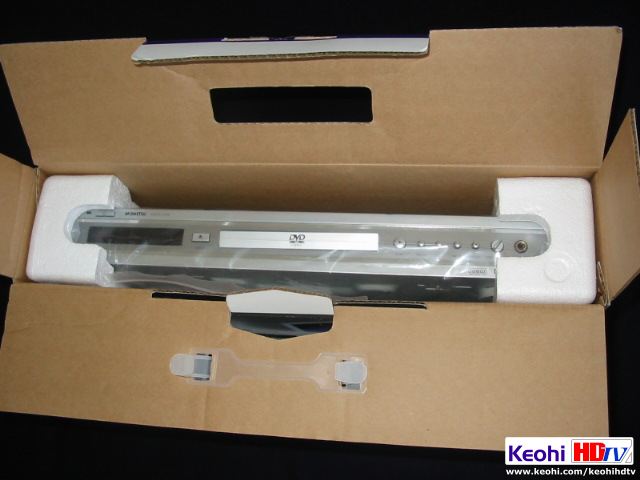
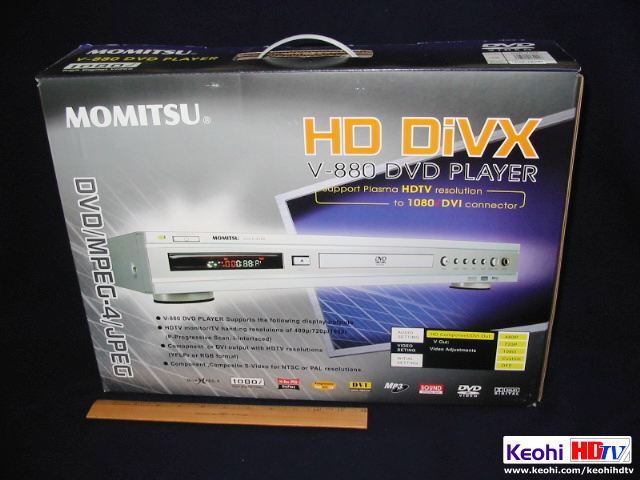
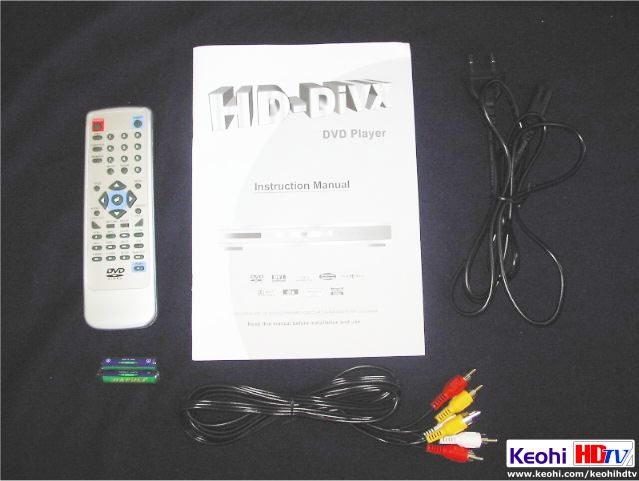
Before I could test the player, I had to do two things:
Fix the DVD door and
Replace the non-US power plug
FIXING THE DVD DOOR
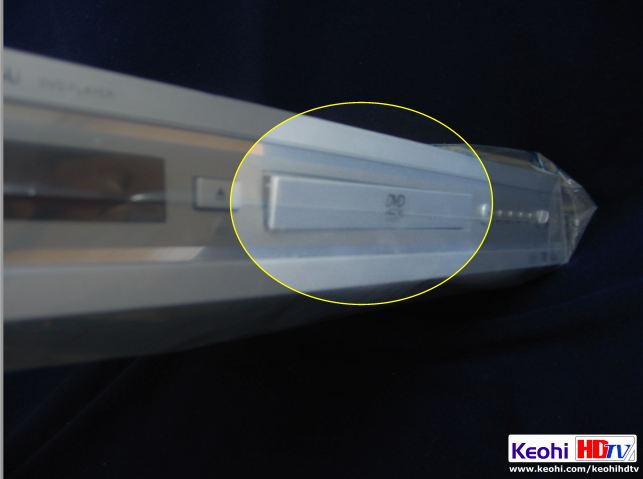
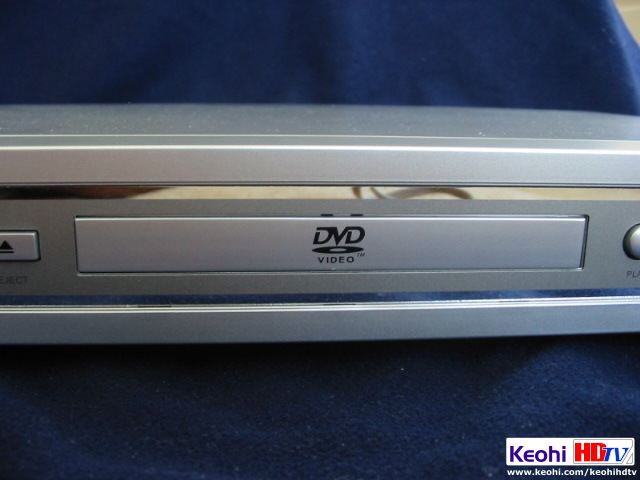
Although having the door a bit ajar (see pictures above) won't prevent
use of the player, it still was a good idea to correct it complete its fit and finish.
But more importantly is that it will also seal the internals from dust, foreign
materials, or even unwanted critters.
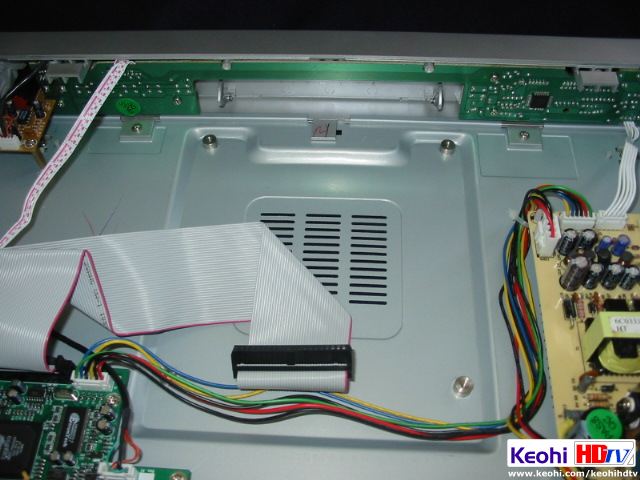
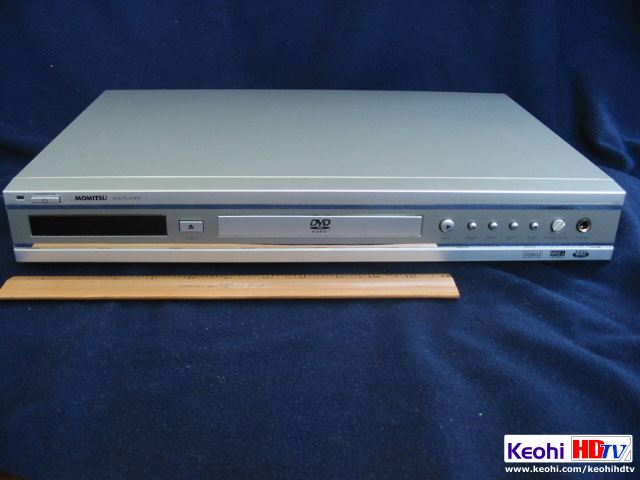
I opened the case by first removing 6 screws (two on each side and two in the rear) from
the case cover
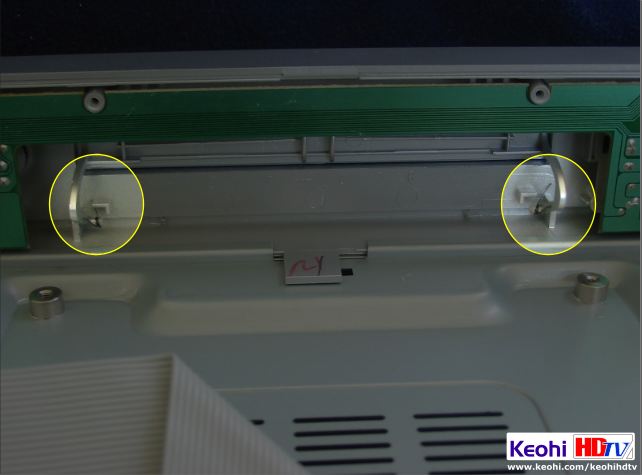
There is a trick to removing the case. There are two plastic tabs forward of the
player just behind the front facia (see picture below). I had to to pull up the
cover from the back of unit and make the front edge the pivot point to free the
cover from the case.
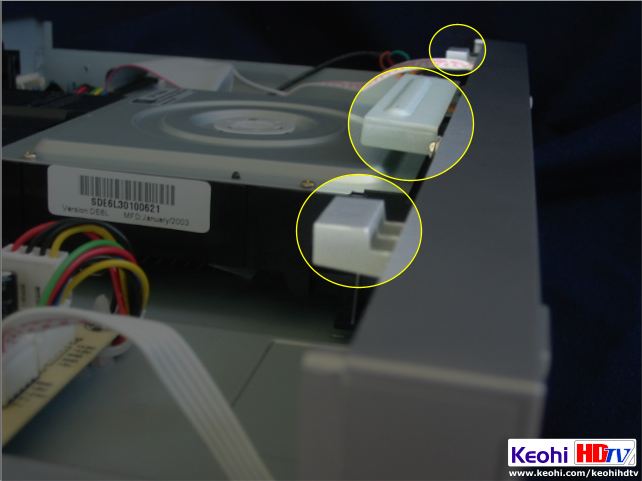
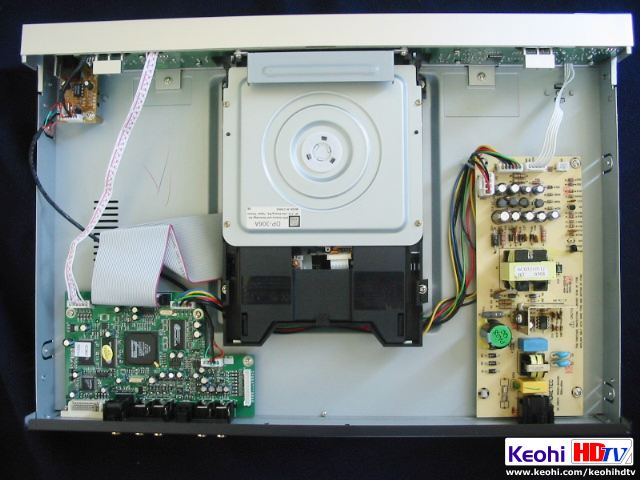
I then removed four screws from the base of the DVD mount to separate it from the case.
Next, was disconnecting the ribbon data cable and the power cable from the rear of the
actual DVD player device. Removal is necessary to gain access to the DVD door.
For convenience, I also remove the wide metal strip (DVD guard) right above the DVD door
opening. This will provide even easier and unobstructed access to the DVD door
clips.
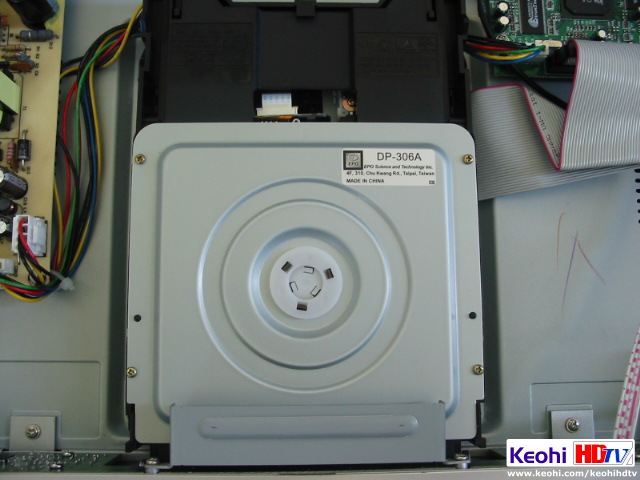
The DVD door is of plastic construction held in place by a spring on the mount points at
each far edge (see picture below). Let's just say that the door isn't of the best
quality construction.
At any rate, the left side spring had popped loose which caused the door to push forward
and open.
I reseated the spring. Easier said than done. The springs are small, so it
took a few minutes of creative maneuvers of persuasion to coax it into place.
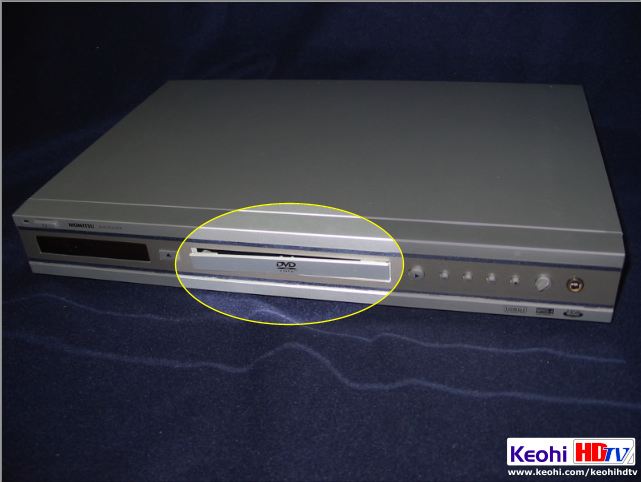
Once done, I simply reversed the procedure and the door ajar issue was fixed (see
picture below).
REPLACING THE POWER PLUG
Just like the other players shipped from the Far East, the power plug had to be
replaced to adapt the non-US plug to one that conforms to the US standard two-prong
polarized variety.
Replacing the two-prong spike plug was very easy to do. I went to Home Depot and
purchased the same plug I used for other non-US players. I got a polarized plug
(Leviton p/n 015 634-101; rated at 15A which costs about $1.25). Since the spike
plug is sealed and cannot be disassembled, I had to cut the cord just beyond the plug.
There are two wires hidden inside the insulation: one brown (hot) and blue
(neutral). With the replacement polarized plug in hand, I connected the brown (hot)
wire to the small prong and the blue (neutral) wire to the large prong. That's about
it!
